Ethereal 3D - 3D Graphics Home Page
Site Map of Ethereal 3D Contact Ethereal 3D Online Products Services and Rates Portfolio of Various 3D Graphics and Animation Work Free Tutorials Resources for Free Graphics and Graphic Creation Material


Architectural House Plan Layout


Architectural House Plan Layout

This articles was created from my postings on a community forum and was not created as a complete step by step tutorial. It does however, show various stages of progression with some brief outlines as to how it was created in modo. These images and steps should help demonstration one method of how to approach building a house in modo.

This entire series of steps in is shown in detail below with the images and a recorded video capture showing the process on a very simple model is also available in the link below that shows it being built in modo.

ArchViz Tutorial Window Trim from Floorplan.avi - 18.5 MB

This video uses the TechSmith EnSharpen codec available for download here.

Tutorial Step 1

Step 1

I started with a simple floorplan of what I wanted which is shown here, and I traced out using a grid snap all the walls. I kept everything with thickness so its easy to extrude up later.

If you don't have a floorplan image you can easily find one online or get one from this site (which I used for this model)


Tutorial Step 2

Step 2

Then I extruded up the walls and sliced everything horizontally so I had edges at the window heights. Added the same for the doors so I could simply remove those polys in the model instead of having to bevel everything. This keeps all the doors and windows at the same heights really easily as well.


Tutorial Step 3

Step 3

Dropped it in a render to easy see the full view and to to look for overlaps and open gaps. So far, everything looks just fine.


Tutorial Step 4

Step 4

Then I started on the windows and doors. These I simply Removed the polys in the spots for the windows and doors from both sides of the walls. I selected the edge loops left in the holes and I bridged them back together so it was cut through everywhere needed.

You can also simply select the two polys on either side and bridge them together and modo will form the hole for the window. The same was done for each doorway.


Tutorial Step 4

Step 5

Another brief render to check how things are shaping up.


Tutorial Step 6

Step 6

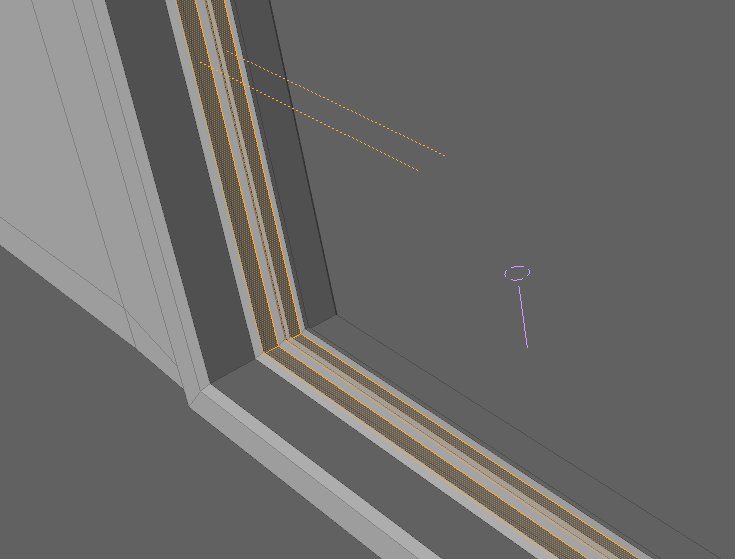
Next, the windows need to have some trim provided so I selected the poly loop in one window and recorded a macro of bevelling out one window casing. In the macro, I set part names for the trim and then as well for the glass panes so that it can be surfaced later.


Tutorial Step 7

Step 7

I had to shift the panes and the thin trim against the glass for each window as well as shown above since I'm not sure how that could berecorded int he macro, since I had to change the selected polys. But, it was simple to do one each window had its trim.

Next, each of the windows had their polys selected and the macro was executed again to form the trim boards, glass and materials just like that in the recorded macro.
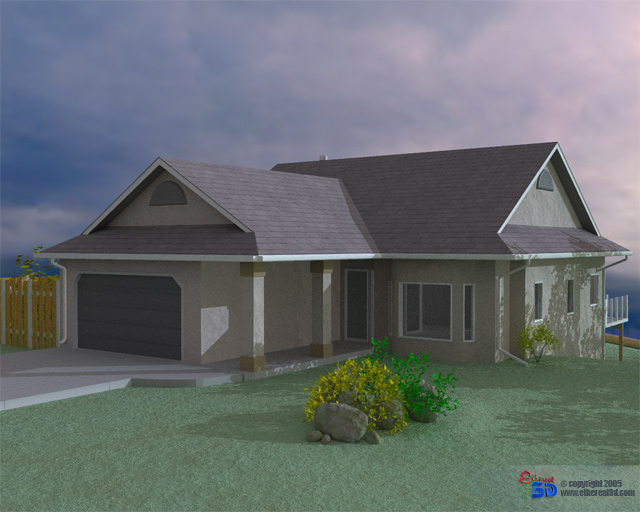
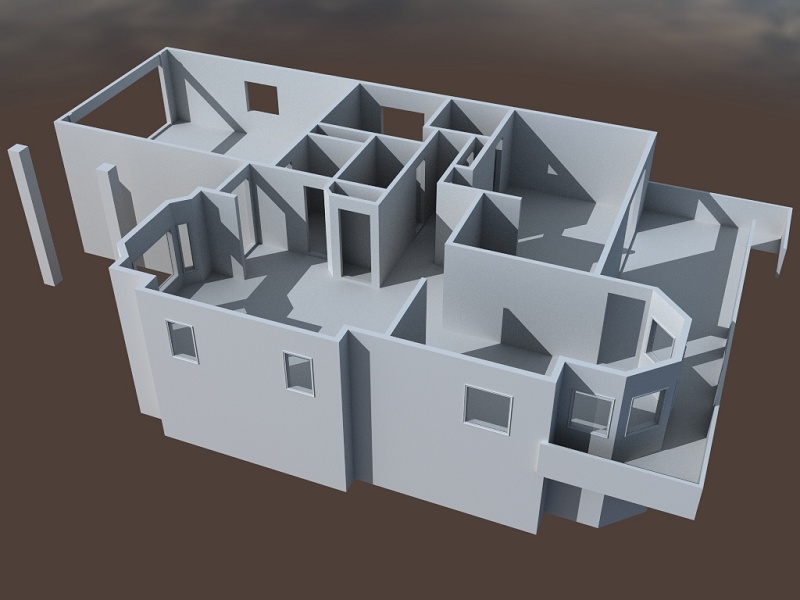

Tutorial Step 8

Step 8

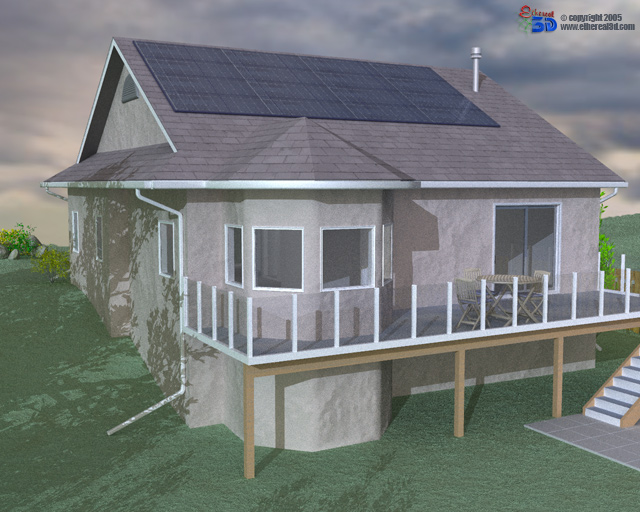
So, then I wanted a little detail around the home for the landscape so here is how it was coming along, with that added to the render. You'll notice also the garage door has been added here as well.
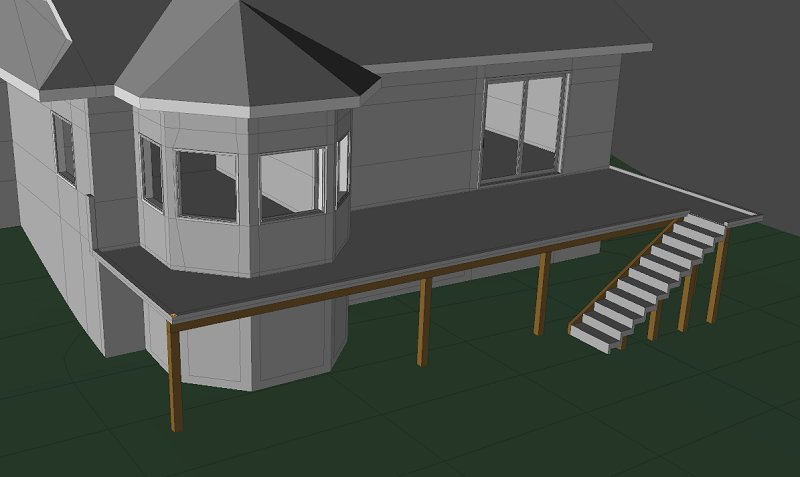
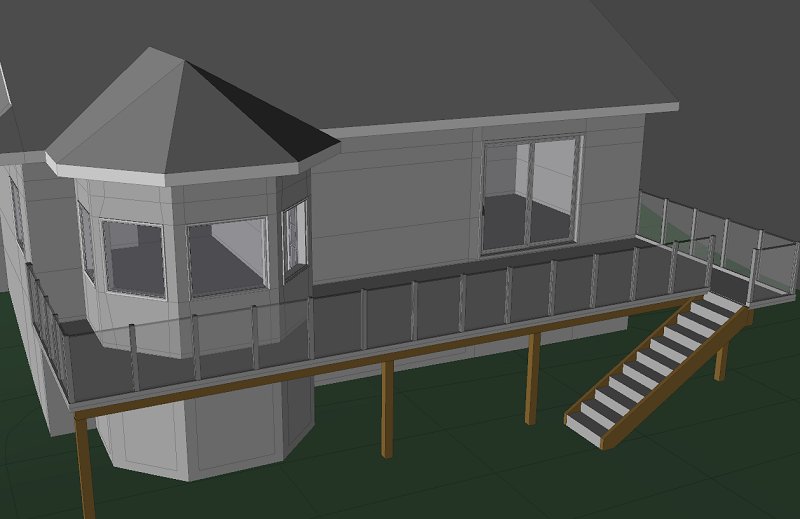
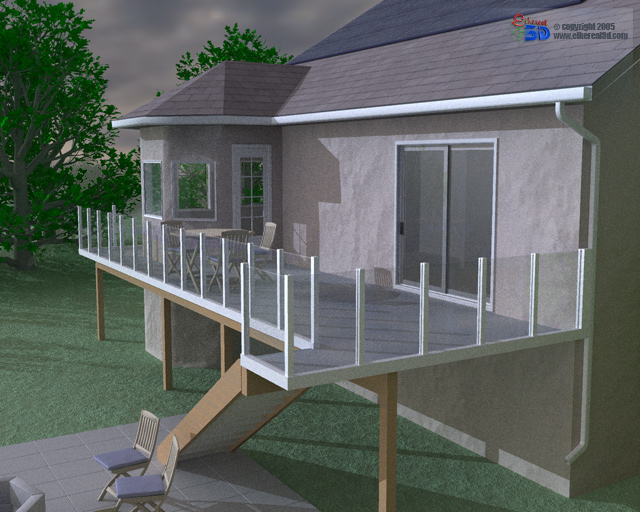
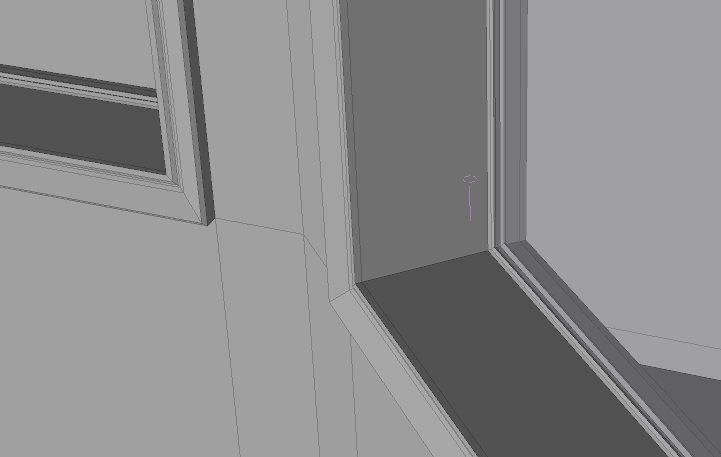

Tutorial Step 9a

Tutorial Step 9b

Step 9

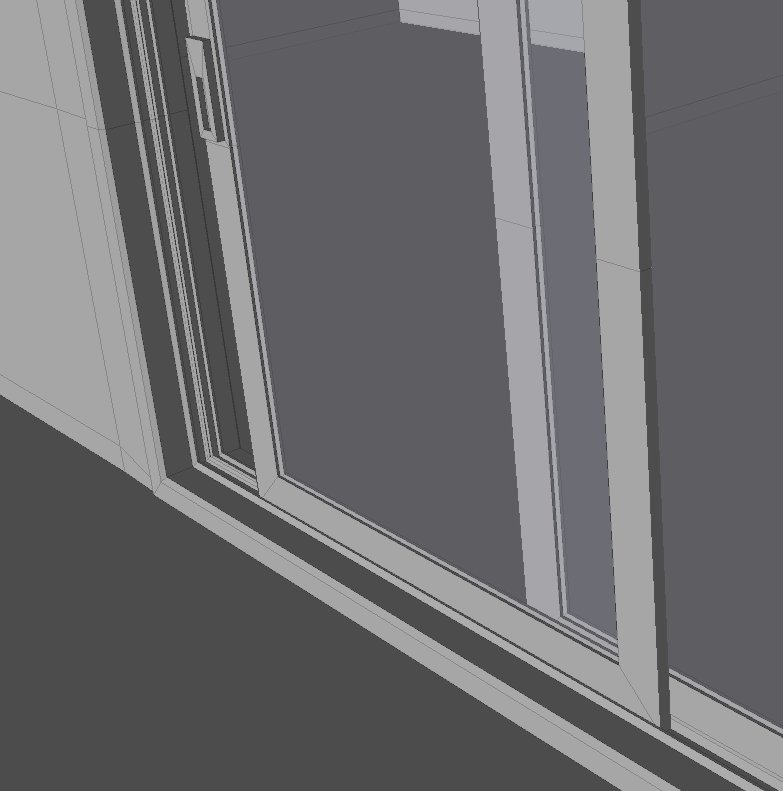
Next, I wanted to finish all the doorways. I perform the main door and deck door by using the same bevelling technique as in the steps and video above. The patio was done similarly but with a sliding door, I wanted to ensure it would open and still look realistic with the slots for the door and glass panes. Here are the pics as it was built.

Two rails for the sliding doors to fit into. Added the glass doors themselves as well by bevelling them into place with the same polys copied from the door trim. I'll position these using morph maps so its just a slider to open and close them, that way its in the object, not the render scene for future setup.
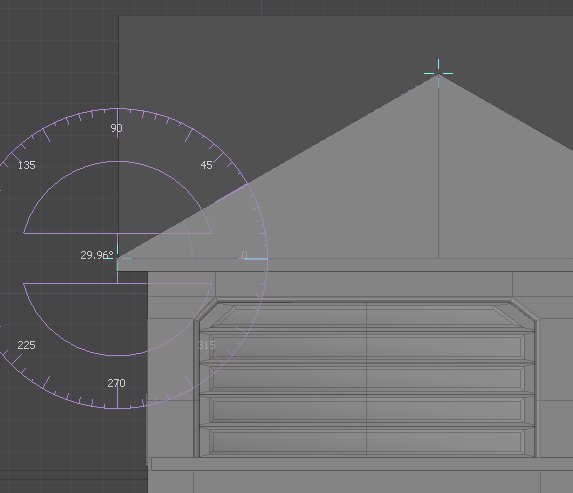
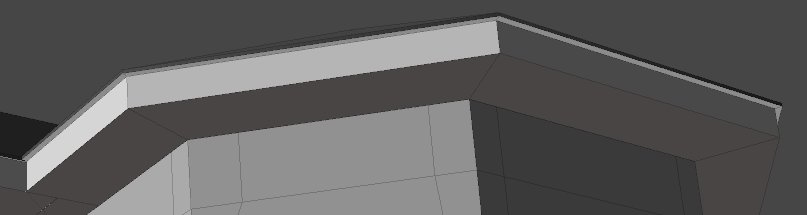
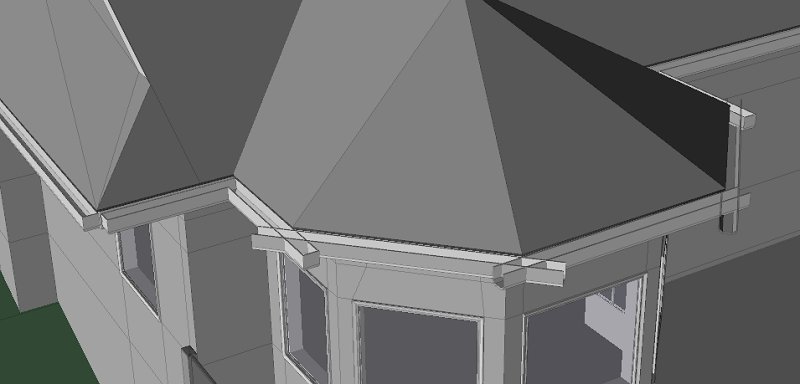

Tutorial Step 10

Step 10

The roofline was next on the list and was a lot harder than I thought it would be. I would now recommend that some of the alignment tools be used from vertexmonkey.com for this as it would make aligned the faces/edges way simpler. The process I used was a little more manual than that and here was my approach.


Tutorial Step 11

Step 11

OK, adding the main roof now, I decided I'd box out the ceiling, one for each main slope. That was split along the center line so I could drag up the proper slope from that edge.

First I extruded it up to give the roof box some depth around the trim of the roof line (not sure what that's actually called). Then dragged up the center line of each slope to 30 deg since that is the angle I want. I used the protractor tool as a reference guide only and just eyeballed it in this case. I'm sure you could use fixed rotation around that point now as well and then snap the center line back in place with the alignment tools (and scripts).


Tutorial Step 11

Step 12

Some additional vertex adjustment and tweaking is neccessary to finish off the roof alignment and edges. A little more pushing vertexes around and you can get your roof line smoothed out to a point similar to this.

I then added some polygonal trees and other details for the landscape and put out a few renders.

Some other details have been added here as well like the doorways.


Step 13 Tutorial Renders


Step 13 - Tutorial

Step 13

And I've just started on the back deck / railing which I want to make more open since the home owners would not want to obstruct the beautiful view. So, it will of course be glass as well.


Step 14 - Tutorial

Step 14

Nothing real difficult added here. The railing is just a bunch of posts that have a small bevel slider in them with a box for the glass inserts. Here is the railing I created.


Step 15 - Tutorial

Step 15

Next the trim around the roof edge needs to be added so that the shingles will overhang the roof.

I did this by adding an edge slice and then the poly loop below the new slice was shifted in slightly.


Step 16 - Tutorial

Step 16

Added the eavestroughing around the home as well plus the downspouts. The eaves were built by making one section with one end cap on it. Then they were mirrored and repositioned where any crossed sections as corners were left to overlap, and then I sliced the two sections at 45 degrees with the slice tool. Then merged those points to join em up. Nice and easy.


Step 17 Tutorial

Step 17

The downspouts I modelled one cross section and sliced it along the Y-axis about 10 times to make a couple of simple bends by rotating the points one slice at a time. Only had to build one and then copy it where it was needed.

The different sizes are simple to make by just shifting the points along the selection axis.


Step 18

Well its time to add some textures, materials and paintings now for the house to help complete it. Obviously this can be done a thousand different ways and this tutorial won't cover any of that. Here are some images though from this completed house.

render house architecture

render house architecture

render house architecture

render house architecture

Site Map | Contact | Products | Services | Portfolio | Tutorials | Resources

Copyright © 2009 Ethereal 3D. All rights reserved.
Email: :: Phone : (403) 670-9921