Creating an animated scene: Amusement Ride Park
One of the best things I enjoy as a 3D artist is the time I take to explore new software and create my own ideas, not the usual graphics requested by a client with their own ideas and restrictions. This amusement park scene is one of those examples where I was exploring some of the animation capabilities of modo and wanted to build my own scene from scratch to make the most use of modo’s modeling tools and workflow using instanced objects. Which this scene was perfect for as I knew I would need many instanced objects for each of the rides since they have many of the same components.  This is not a step by step tutorial by any means but it will show you some of the items to think about having in an animated scene and a bit about my workflow and process of creating such an animation.
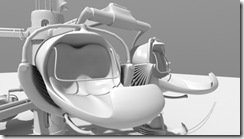
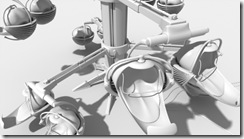
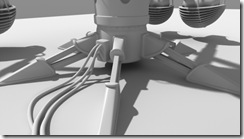
So, I started out modeling the pods of the spider ride (since I love the spider rides). I wanted to build one that would easily swing on a pivot above the pod and so these are free hanging basically from the arm above them. This arm is then capable of hydraulically extending and retracting to get the pod swinging. The entire spider ride then rotates and moves up and down on the hydraulic center shaft.
These were created from a shell I started using strips of polys to form the basic shape. I then thickened the plastic pod and molded the connection on the top to the swinging bars. Polys from inside the pod were used as a template to remold a new extruded seat area which then I shaped heavily manually with element move.
Additional features were added to the ride like stabilizer arms, flags, hydraulic uses, small control boxes, etc. These are simple to add realism and details to the model.
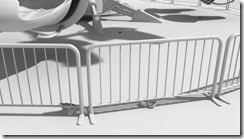
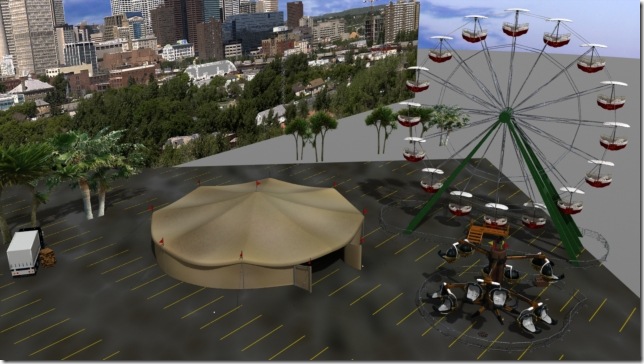
The scene itself needed a lot more as well to make it more realistic and so a few typical elements were added. The fence was easy to add as it is simply one section instanced to form the circle around the rides and keep the crowds at an amusement park at a safe distance. Notice the pieces of garbage on the ground as well, I scattered these all around the park to add that extra element of realism.
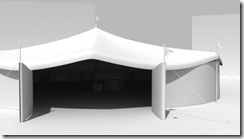
The tent was another simple model I created for the scene to add as a background element, especially since it is such a recognized element for amusement parks.
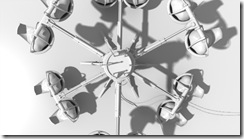
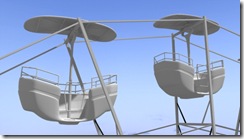
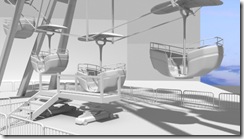
What amusement park is complete without a Ferris wheel? I created the frame for the Ferris wheel first and then modeled the baskets. The center of each of these baskets was position at the canopy’s hinge point so they could easily be animated as they circled around the Ferris wheel. This was actually a bit tricky at first as I struggled with center and pivot points when I first started the animation for this. Once they were positioned well, I could simple instance all the baskets and type in specific offset coordinates so they were positioned at each point around the wheel. If I was to do this again in 401, I’d rig the wheel so they move but always hang properly with some sliders to control how much they swing to one side or the other (from offset weight) and to allow them to have some minor shaking as they spin. For this animation, they simple rotate at a low speed with key frames to keep them vertical.
Finally, I added some additional background elements from my asset library that I have like the truck, pallets, boxes, trees, and backgrounds. I actually put the background image in the scene as I wanted to move the camera and get some background shifting to make it look part of the scene as the camera moves.
I added textures, materials and lit the scene with daylight physical sky and global lighting.
Then with much time spend animating the elements of the spider ride, I setup some camera motion to pan in the scene with all the elements in the background showing smoothly without having any gaps into empty space and rendered out the animation. Unfortunately, this took weeks as I rendered it at HD resolution.
You can see a sample of the animation and the finished scene in the video below.
